
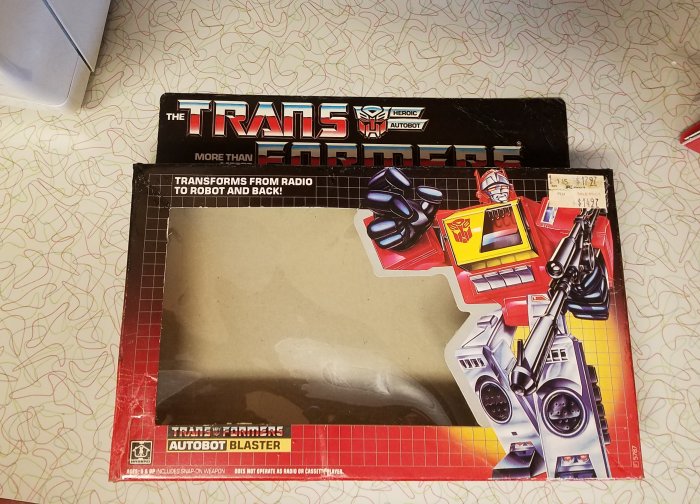
 I got another one in today, this one from my friend Joe. This Blaster box has seen better days. There's no effective way to restore it to the C10 case fresh, but with a little effort, we can make it look good from a distance. I call it the 3-foot rule, because at roughly a meter away, it looks good enough to me. It's only up close, with good eyesight and a magnifying glass, that you can really pull out the imperfections, even after an alleged restoration. I don't do this for any reason other than my own amusement, as part of my ongoing effort to make even a boxed collection as worthless as possible. There are folks out there who do this much better than I. I'm simply aiming for good enough. And it rescues a vintage box from the recycle bin. Here we go...
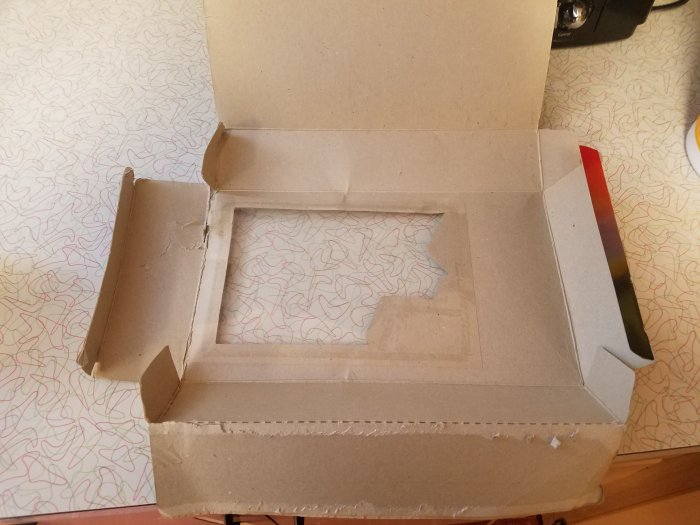 The scariest part is separating the box at the seam. Once you do that, preferably with a large scary kitchen knife, you're on your way.
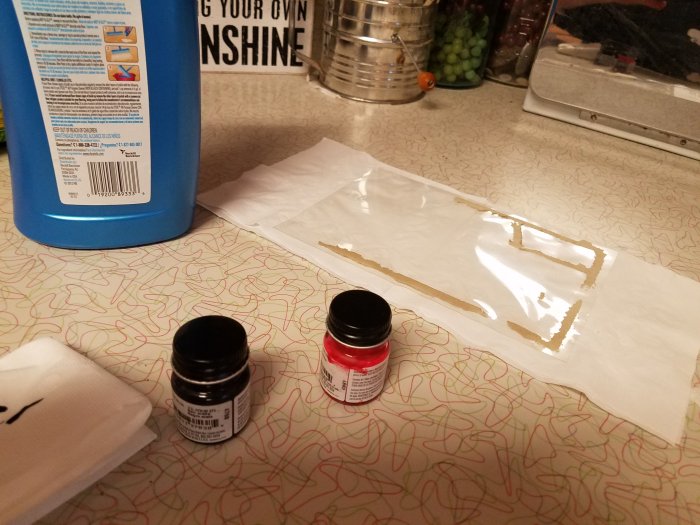 I've certainly done a better job of detaching windows in the past, and most times they're already gone. In this case, I made a minimal effort to wiggle it loose. What I did do is coat both sides of that loose window with mop & Glo, to get rid of all those little scratches. One coat on each side makes it look pretty spiffy, and lets me keep the vintage window. I don't like replacing them with new plastic unless I have to.
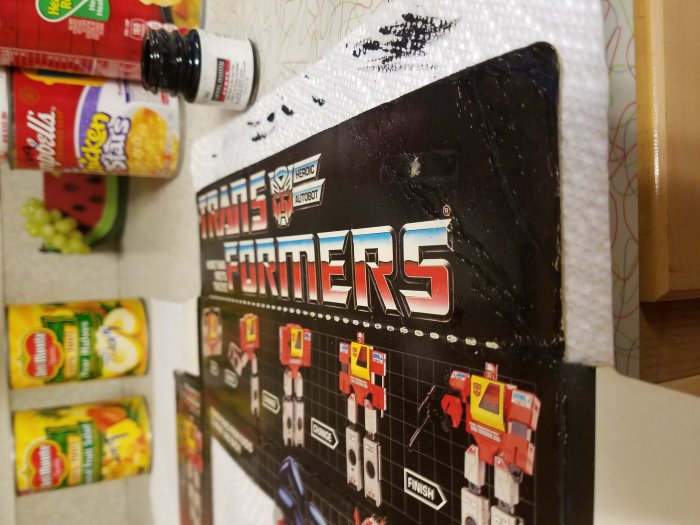
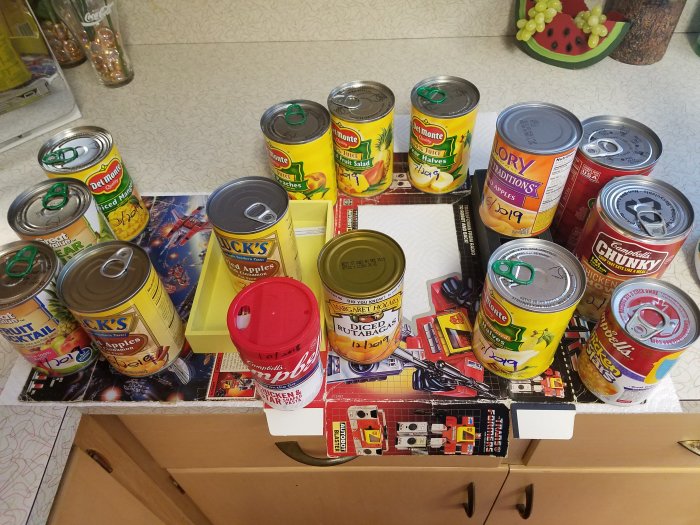 I have weighted plates and clamps in the workshop, but for a project like this I prefer the cleanliness of the kitchen. Once you've ironed the dents and creases out of your box, put it in between some paper towels and weigh it down with canned goods. I leave it like that for the afternoon, to make sure it stays straight as it dries completely. I use a steam iron at the second highest setting, and I only iron in the back of the box, with a wet towel in between. If you use a higher setting, or you don't use a towel, or primus help us you ironed the artwork on front, you will damage the box. Better to do too little than too much.
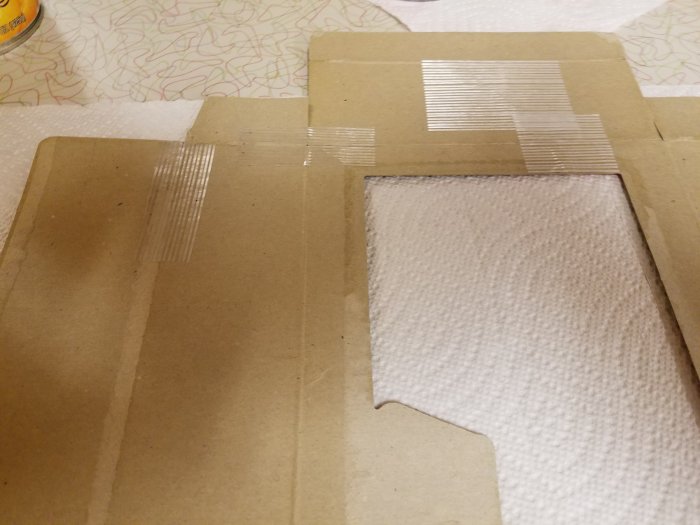 Again, since this is a box I'm keeping, and not one I plan to move along, I use the stronger strapping tape. You could put a thin line of hot glue, or some clear satin tape to hide your repair, but I intend to open this box again, so I want my damaged flap reinforced. Also note that I braced the area that got crunched and dented. After ironing, and even after soaking it in a hardening material, that area is still going to be weak.
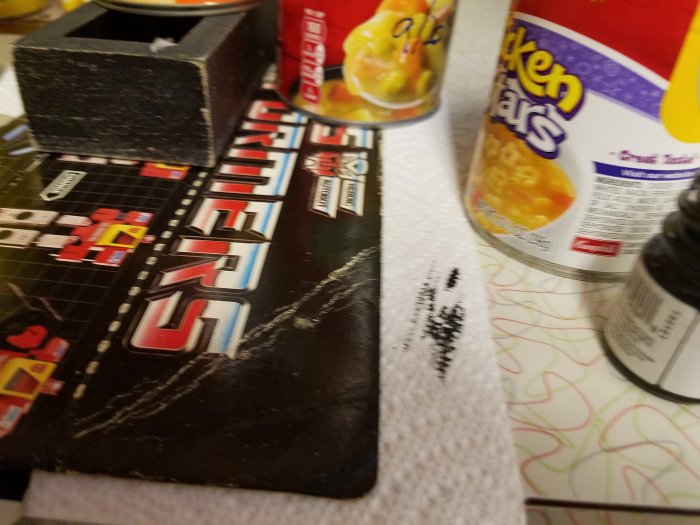  Highlighting one of the areas touched up. And it's part of that 3 foot rule. You're going to notice it up close, but from a distance, it gets rid of the worst of it. This is a semi-gloss black applied to the worst of that flaked seam. Once sealed over, you barely notice it. Again, we're not going for AFA gradable, we just want something that looks passable on your shelf.
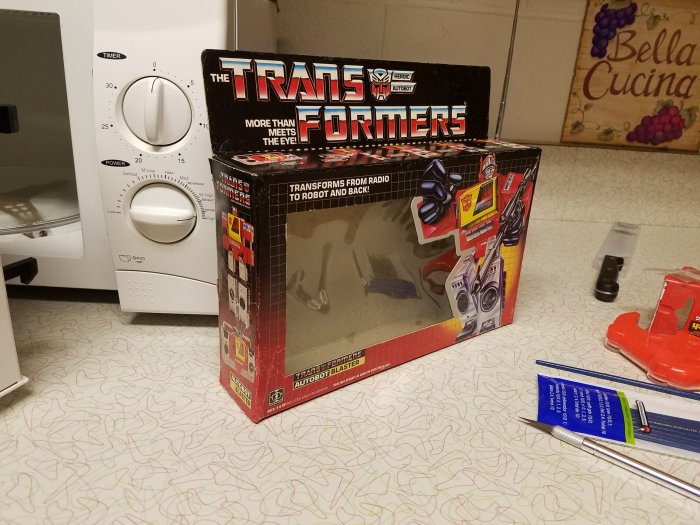  And there it is, reinforced and reassembled. The black area blended really well, though we weren't able to completely hide some of the damage on that ripped side flap. So we'll display it with the other side angled out. It's certainly a lot better than it was. Once I scrounge up an insert, and put a toy back in it, we'll be finished. I encourage anyone to do this with damaged boxes. With enough practice, you'll have the confidence to touch up a minty box (one that would be perfect otherwise, except for a small ding, or tiny gouge out of the laminate.) Next week: how to freshen up your home's exterior by hiring someone else to deal with it.
|